本文最后更新于111 天前
基础设置
创建场景
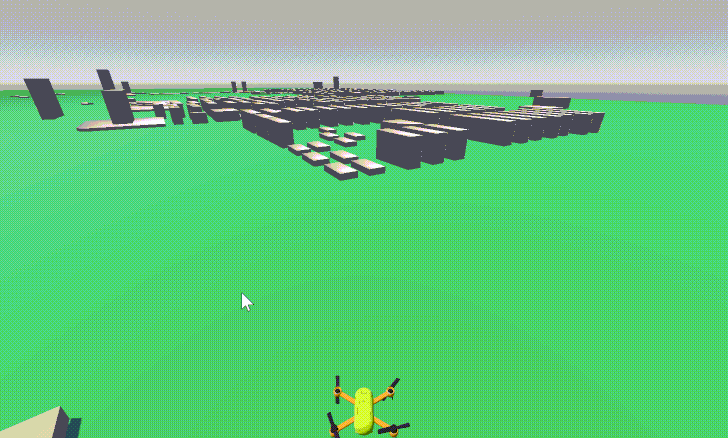
创建main场景,场景中添加Camera3D 节点,并把相机的位置设置为(0,0,5),可以看到现在相机默认看向原点方向。

添加灯光和天空盒

动态创建胶囊节点
创建main脚本,并挂载到主场景
main.gd 保存在scripts 文件夹

extends Node3D

# Called when the node enters the scene tree for the first time.
func _ready() -> void:
     # 创建 MeshInstance3D 节点
    var capsule_mesh_instance = MeshInstance3D.new()

    # 创建胶囊体网格资源
    var capsule_mesh = CapsuleMesh.new()

    # 设置胶囊体参数(可选)
    capsule_mesh.radius = 0.5       # 底部半径
    capsule_mesh.radial_segments = 16  # 径向分段数
    capsule_mesh.rings = 8           # 轴向分段数

    # 将网格赋给 MeshInstance3D
    capsule_mesh_instance.mesh = capsule_mesh

    # 创建材质(可选)
    var material = StandardMaterial3D.new()
    material.albedo_color = Color(1, 0, 0)  # 红色材质
    capsule_mesh_instance.material_override = material

    # 添加到场景
    add_child(capsule_mesh_instance)

    # 调整位置(可选)
    capsule_mesh_instance.position = Vector3(0, 1, 0)

# Called every frame. 'delta' is the elapsed time since the previous frame.
func _process(delta: float) -> void:
    pass
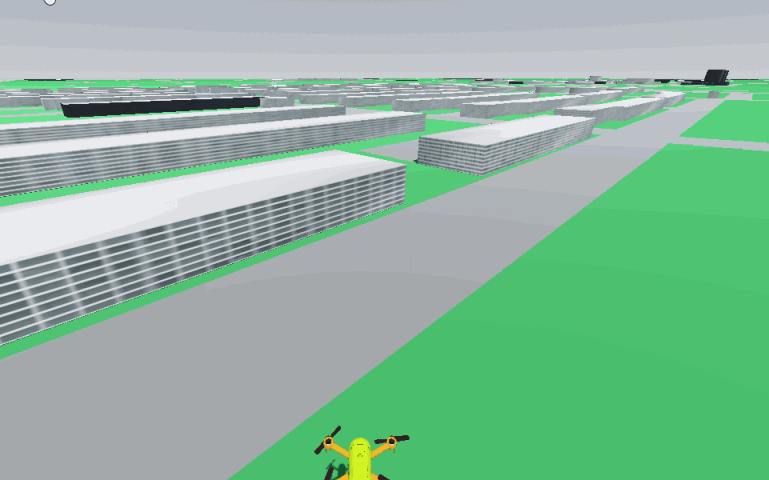
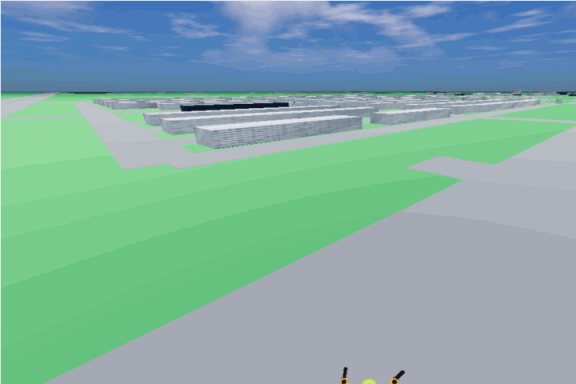
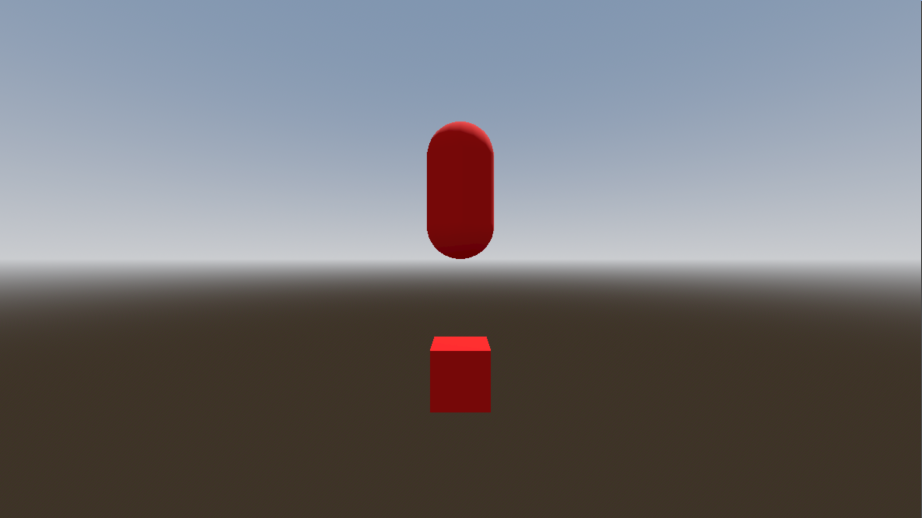
运行效果

动态创建立方体节点
extends Node3D

# Called when the node enters the scene tree for the first time.
func _ready() -> void:
     # 创建 MeshInstance3D 节点
    var capsule_mesh_instance = MeshInstance3D.new()

    # 创建胶囊体网格资源
    var capsule_mesh = CapsuleMesh.new()

    # 设置胶囊体参数(可选)
    capsule_mesh.radius = 0.5       # 底部半径
    capsule_mesh.radial_segments = 16  # 径向分段数
    capsule_mesh.rings = 8           # 轴向分段数

    # 将网格赋给 MeshInstance3D
    capsule_mesh_instance.mesh = capsule_mesh

    # 创建材质(可选)
    var material = StandardMaterial3D.new()
    material.albedo_color = Color(1, 0, 0)  # 红色材质
    capsule_mesh_instance.material_override = material

    # 添加到场景
    add_child(capsule_mesh_instance)

    # 调整位置(可选)
    capsule_mesh_instance.position = Vector3(0, 1, 0)

    var box_mech_instance = MeshInstance3D.new()

    var box_mesh = BoxMesh.new()

    box_mesh.size = Vector3(1,1,1)

    box_mech_instance.mesh = box_mesh

    box_mech_instance.material_overlay = material

    add_child(box_mech_instance)

    box_mech_instance.position = Vector3(0,-2,-1)

# Called every frame. 'delta' is the elapsed time since the previous frame.
func _process(delta: float) -> void:
    pass
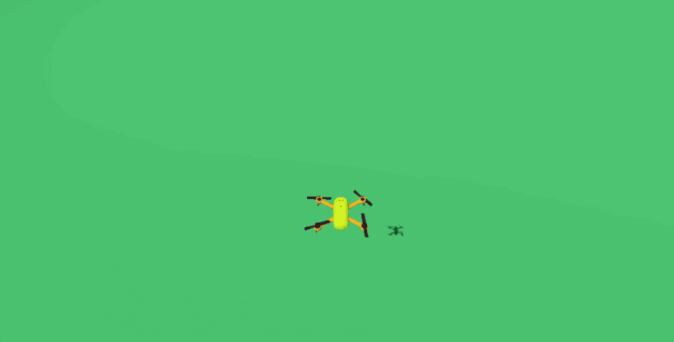
运行效果